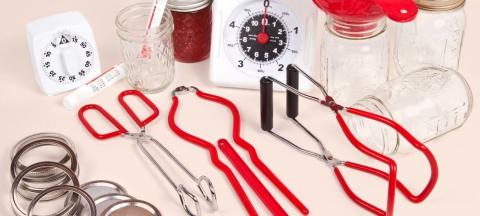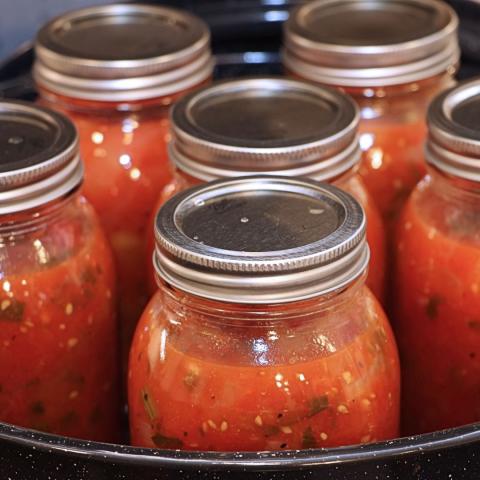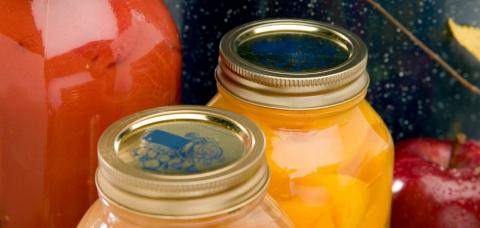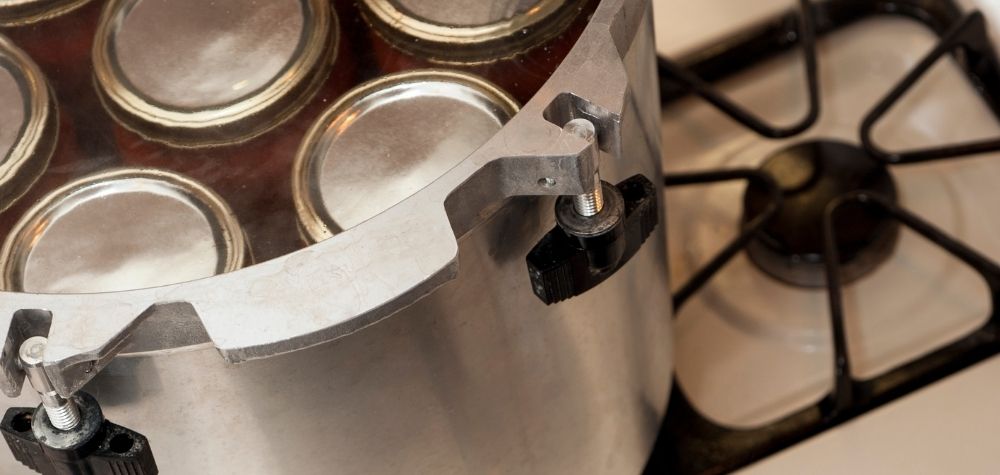
There are three main pieces of equipment for heat processing home canned foods: boiling water canner and atmospheric steam canner for acidic foods (pH 4.6 or lower) and the pressure canner for low acid foods (pH above 4.6). Most canners are designed to hold 7 quart jars or 8 to 9-pint jars. It is recommended that a canner be large enough to hold at least 4-quart jars to be considered a pressure canner for the USDA published processes. Pressure saucepans with smaller volume capacities and multi-cookers (such as Instant Pot® or Crock-Pot®)* are not recommended for canning.
Boiling Water Canners | Atmospheric Steam Canners | Pressure Canners
Boiling Water Canners
Boiling water canners are only used with high acid foods, including fruits, pickles, sauerkraut, jams, jellies, marmalades, and fruit butters. These canners are made of aluminum, stainless steel, or porcelain covered steel. They have removable perforated racks and fitted lids. The canner must be deep enough so that at least 1 to 2 inches of briskly boiling water will be over the tops of the jars during processing.
To heat properly, it is important to match the canner to the stovetop. On a gas burner either a flat or ridged bottom can be used; on an electric range a flat bottom canner must be used. To ensure uniform processing with an electric range, the canner should be no more than 4 inches wider than the element on which it is heated. Center the canner so not more than 2 inches extend beyond the burner on any side. Before canning on a smooth top range, check the range manufacturer's advice on suitability for canning and recommended maximum canner size for specific burners. A flat-bottomed canner must be used for a smooth top range.
Using Boiling Water Canners
Follow these steps for successful boiling water canning:
- Fill the canner half full of water. Place the canner rack in the bottom of the canner.
- Preheat water to 140°F for raw packed foods and to 180°F for hot packed foods. Heat clean jars in the canner or some other way (dishwasher, clean sink with hot water, or saucepan of hot water). While the canner water is heating, prepare the food using an up to date, research tested recipe.
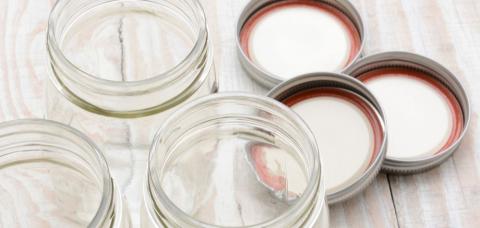
- Fill hot jars with food, leaving the correct headspace (space between the top of the food and the top of the jar). Wipe jar rim, to assure no food is on the rim. Place canning lid on jar rim and screw band in place until finger tight (do not over tighten).
- Fill the canner, one jar at a time, using a jar lifter positioned below the neck of the jar, keeping the jar upright at all times. Filled jars can be directly loaded when the rack is positioned on the bottom of the canner. If loading the rack while it is secured on the canner rim, use the rack handles to lower the rack with jars into the water.
- Add more boiling water, if needed, so the water level is at least 1 to 2 inches above jar tops.
- Turn heat to its highest position until water boils vigorously.
- Once the water is boiling, set a timer for the recommended time required for processing the food.
- Cover with the canner lid and lower the heat setting to maintain a gentle boil throughout the process. If the water stops boiling at any time during the process, turn the heat up, bring the water back to a vigorous boil, and begin the process time over again.
- Add more boiling water, if needed, to keep the water level above the jars.
- When jars have boiled for the recommended processing time, turn off the heat and remove the canner lid. Wait 5 minutes before removing jars.
- Using a jar lifter, remove the jars one at a time, being careful not to tilt the jars. Place them on a towel or a rack, leaving at least a 1-inch space between jars during cooling. Avoid placing the jars on a cold surface or in a cold draft.
- Allow jars to sit undisturbed while they cool 12 to 24 hours. Do NOT tighten lid ring bands or push down on the center of the flat metal lid.
Atmospheric Steam Canners
The University of Wisconsin-Madison conducted research showing that an atmospheric steam canner may be used to safely can foods that are naturally acidic such as peaches, pears, and apples, or acidified-foods such as salsa or pickles.
They tested two types of canners in the laboratory, a Back to Basics® canner and a Victorio® model. These are the only two types of steam canners that the University of Wisconsin has tested as safe for home canning of acid foods, other canners have not been tested and are not recommended at this time.
The atmospheric steam canner uses only 2 quarts of water (compared to 16 quarts, or more, in a boiling water canner) so you heat less water and processing can start more quickly. Safe processing in a steam canner requires that all the following criteria are met:
- Foods must be high in acid, with a pH of 4.6 or below, such as most fruit or foods that have acid added. Another option to process these foods would be a boiling water canner.
- An up to date, research tested recipe must be used. Approved recipes for boiling water canning may be safely adapted for use in a steam canner. Manuals that come with steam canners may include recipes that are not research-tested, making them potentially unsafe to use. Acceptable recipes are available from sources such as the National Center for Home Food Preservation or the Nebraska Extension.
- Adjust processing time for elevation, just as you would for a boiling water canner, adding time as your elevation rises above 1,000 feet.
- Half-pint, pint, or quart size may be used, depending on the jar size acceptable in the recipe.
- Jars must be heated prior to filling and filled with hot liquid (raw or hot pack).
- Process time for a steam canner is the same as using a boiling water canner. Processing time is limited to 45 minutes or less, including any modification for elevation. The processing time is limited by the amount of water in the canner base.
Using Steam Canners
Follow these steps for successful steam canning:
- Fill the bottom pot with the recommended amount of water, normally just about the top of the jar rack.
- Preheat water to 140°F for raw packed foods and to 180°F for hot packed foods. Heat clean jars in the canner or some other way (dishwasher, clean sink with hot water, or saucepan of hot water). While the water is heating, prepare the food using an up to date, research tested recipe.
- Fill warm/hot jars with food, leaving the correct headspace. Wipe jar rim, to assure no food is on the rim. Place canning lid on jar rim and screw band in place until finger tight (do not over tighten).
- Place filled jars on the canner rack above hot/preheated water.
- Place the lid on the canner and heat, on high, until steam is visibly coming out of the canner vent. A full 6-to-8-inch column of steam will flow out of the vent hole in the canner.
- Once the canner continuously produces a full column of steam, start timing. Adjust heat, as needed to ensure steam is exiting through the canner vent(s) during the entire process time. Regulate heat so that the canner maintains a temperature of 210-212°F. When processing food, the canner should not be opened to add water. A canner that is boiling too vigorously can boil dry within 20 minutes. If a canner boils dry, the food is considered under processed and therefore potentially unsafe.
- When jars have processed for the recommended time, turn off the heat and remove the canner lid. Wait 5 minutes before removing jars.
- Using a jar lifter, remove the jars one at a time, being careful not to tilt the jars.
- Cool jars in still, ambient air. Jars should be cooled on a rack or towel away from drafts.
- Allow jars to sit undisturbed while they cool 12 to 24 hours. Do NOT tighten lid ring bands or push down on the center of the flat metal lid.
Pressure Canners
Pressure canners are used for low acid foods, including red meats, seafood, poultry, and all fresh vegetables except most tomatoes. Pressure canners for home use can be thicker walled kettles with clamp on lids or lightweight, thin-walled kettles with turn on lids and a gasket. All pressure canners have a dial or weighted gauge, a way to let steam out (may be a counterweight or petcock) and a safety vent (often called a safety fuse). All canners should come with a jar rack. Canners with 16-to-23-quart capacity are common. The minimum volume of canner that can be used is one that will contain 4-quart jars. Pressure saucepans with smaller volume capacities and multi-cookers (such as Instant Pot® or Crock-Pot®) are not recommended for canning.
How Pressure Canners Safely Process Food
When heat is applied to a pressure canner the water begins to boil and steam starts forming. Boiling water reaches the temperature of 212°F at sea level. With increasing elevations, the boiling point of water decreases (210.2°F at 1,000 feet above sea level; 208.4°F at 2,000 feet). As the heated water turns to steam, it will begin to escape through the open vent. Allowing heat to escape for 10 minutes eliminates air, allowing an even heating environment inside of the canner. Once steam has filled the canner (10 minutes) and the canner vent is closed, the steam can no longer escape, and pressure begins to rise. Water under pressure boils at temperatures above 212°F. At 10 pounds of pressure at sea level water boils at 240°F.
As pressure builds in the canner, that pressure is transferred to the food and liquid in the jars. Each pressure canned food product is tested to figure out how long it takes to reach the correct temperature for the correct amount of time to kill bacteria spores. When the canner pressure is held steady, the pressure of the water in the canner and the liquid in the jars are equal – not allowing the jar contents to come out of the jar into the canner. At the end of processing time when the heat is turned off, pressure in the canner and the jars start to fall.
If the pressure in the canner suddenly falls, the canning jars may explode because of the pressure difference. If the canner is left closed too long after the pressure is gone, it may make a vacuum seal that will make taking the lid off more difficult and may cause the jars to spurt liquid. The pressure in the jars normally takes longer to drop than in the canner, that is why at times when you remove pressure canned jars the liquid in them is still boiling.
Weighted Gauge: Weighted gauges allow the pressure to reach 5, 10, or 15 pounds. The weight maintains the pressure and temperature by releasing a small amount of air and steam each time the gauge rocks or jiggles during processing. The weighted gauge pressure canner does not require constant watching; the sound indicates proper pressure control. The weighted gauge does not need to be checked for accuracy.
Dial Gauge: The dial gauge shows the amount of pressure and temperature in the canner. This gauge allows greater flexibility in the amount of pressure but requires continual watching to maintain consistent pressure. Check dial gauges for accuracy before use each year and replace if they read high by up to 2 pounds of pressure. Gauges may be checked through your local extension office or the manufacture may have a program to check gauges.
Gaskets: Many pressure canners have gaskets that seal the lid to the kettle during processing. Clean gaskets between uses according to the manufacturer's directions. Nicked or dried gaskets will allow steam leaks during pressurization. Gaskets on older model canners may require a light coat of vegetable oil once a year. Gaskets on newer model canners are pre-lubricated and do not benefit from oiling. Check your canner's instructions to see if the gasket you use is pre-lubricated. Steam leaks around the cover indicate that the gasket needs to be replaced. Also, replace stiff or stretched gaskets.
Safety Fuse/Valve: Lid safety fuses are thin metal inserts or rubber plugs designed to relieve excessive pressure from the canner. Do not pick at or scratch fuses while cleaning lids. Use only canners that have the Underwriter's Laboratory (UL) approval to ensure their safety. If you replace the gasket, replace the rubber safety valve.
Replacement Parts: Replacement gauges and other canner parts often are available from stores selling canning equipment or from canner manufacturers. When ordering parts, give your canner model number and describe the parts needed.
Proper Venting: Venting expels air in the canner and replaces it with steam. To vent a canner, leave the vent port uncovered on newer models or manually open petcocks on some older models. Heat the filled canner with its lid locked into place bringing the water to a boil so that steam is generated. Allow the steam to escape through the petcock or vent port for 10 minutes. After venting 10 minutes, close the petcock or place the counterweight or weighted gauge over the vent port to pressurize the canner.
Using Pressure Canners
Follow these steps for successful pressure canning:
- Put 2 to 3 inches of hot water in the canner. Place filled jars on the rack, using a jar lifter. Fasten canner lid securely.
- Leave weight off vent port or open petcock. Heat at the highest setting until steam flows from the petcock or vent port.
- Maintain high heat setting, exhaust steam for 10 minutes, and then place weight on vent port or close petcock. The canner will pressurize during the next 3 to 5 minutes.
- Start timing the process when the pressure reading on the dial gauge indicates that the recommended pressure has been reached, or when the weighted gauge begins to jiggle or rock.
- Regulate heat under the canner to maintain a steady pressure slightly above the correct gauge pressure. Quick and large pressure variations during processing may cause unnecessary liquid losses from jars. Weighted gauges on Mirro® canners should jiggle about 2 to 3 times per minute. On Presto canners, they should rock slowly throughout the process.
- When the timed process is completed, turn off the heat, remove the canner from the heat if possible, and let the canner depressurize. Allow the canner cool naturally, do not force the canner to cool. Forced cooling may result in food spoilage. Cooling the canner with cold running water or opening the vent port before the canner is fully depressurized will cause loss of liquid from jars and seal failures. Force cooling also may warp the canner lid of older model canners, causing steam leaks. Depressurization of older models should be timed. Standard size, heavy walled canners require about 30 minutes when loaded with pints and 45 minutes when loaded with quarts. Newer thin walled canners cool more rapidly and are equipped with vent locks. These canners are depressurized when their vent lock piston drops to a normal position.
- After the canner is depressurized, remove the weight from the vent port or open the petcock. Wait 10 minutes, unfasten the lid, and remove it carefully. Lift the lid away from you so that the steam does not burn your face.
- Using a jar lifter, remove the jars one at a time, being careful not to tilt the jars. Place them on a towel or a rack, leaving at least a 1-inch space between jars during cooling. Avoid placing the jars on a cold surface or in a cold draft.
- Allow jars to sit undisturbed while they cool 12 to 24 hours. Do NOT tighten lid ring bands or push down on the center of the flat metal lid.
Cleaning and Storing Pressure Canners
Wash canner with detergent and hot water. Clean vent pipe with a small brush or chenille stem. Rinse and dry thoroughly. Place lid upside down on canner to protect the valves and gauge. Store in a clean, dry place.
*Reference to commercial products or trade names is made with the understanding that no discrimination is intended of those not mentioned and no endorsement by University of Nebraska–Lincoln Extension is implied for those mentioned.
Sources:
Canning Terms: Packing and Processing, Penn State Extension
Dr. Barbara Ingham, Professor, Food Safety Specialist, University of Wisconsin-Madison, Guidelines for using a Steam Canner for Home Food Preservation
National Center for Home Food Preservation, University of Georgia Extension
USDA Complete Guide to Home Canning, National Center for Home Preservation
Article originally written by Julie Albrecht. Updated and reviewed by Carol Larvick in 2021.
Tags:
Feedback Form
Feedback Form
If you do not see the article, please scroll up the page.
